Date Format - Transform your Dynamics Marketing Event Portal
In my previous article I showed you how to get yourself set up for making configurations to a Dynamics Marketing Event Portal so if you haven’t done that yet and have no idea what I am talking about - I suggest you head there first.
This is when the fun bit actually starts - where you see some real results and not just lines of code. This post will show you how to make a change on your Dynamics Marketing Event Portal that the majority of people outside of the United States will be screaming out for.
Change the date format from mm-dd-yyyy
The dream
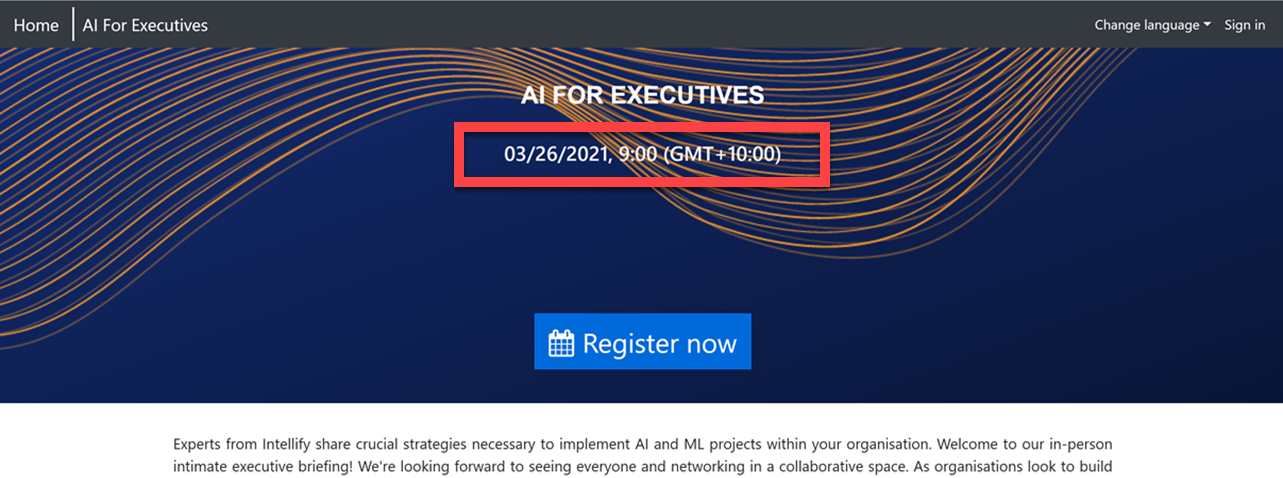
I live in Australia - my environment is hosted here, my region settings are aligned accordingly, so surely the date on the portal should be that too? My dream looks like this

The nightmare
I don’t know about you, but the last time I checked there was only 12 months in the year - but this one seems to this there are up to 31 of them!? I know date formats is a contentious subject, but the date format needs to be supportive of the region and I live in the region where the DATE comes before the MONTH!

Side rant: why must they use the default date format MM-DD-YY when it only accounts for ~40 million of the population whilst over 2,800 million use DD-MM-YY - whyyyy!?
Making the dream come true
Assuming you completed the steps in my previous article you are ready to make your first portal improvement. The date settings (dateSettings) are stored in the environments.ts file.
1. Open the source code folder in Visual Studio

2. Navigate to the environments.ts file which you created and updated the apiEndpoint for.
3. Update the singleDateFormat in the environment.ts file


I used the format EEEE dd MMM, yyyy but you can be as creative as you like here. Some inspiration for you on alternative date formats kindly sourced from Dr. Google on a Stack Overflow post

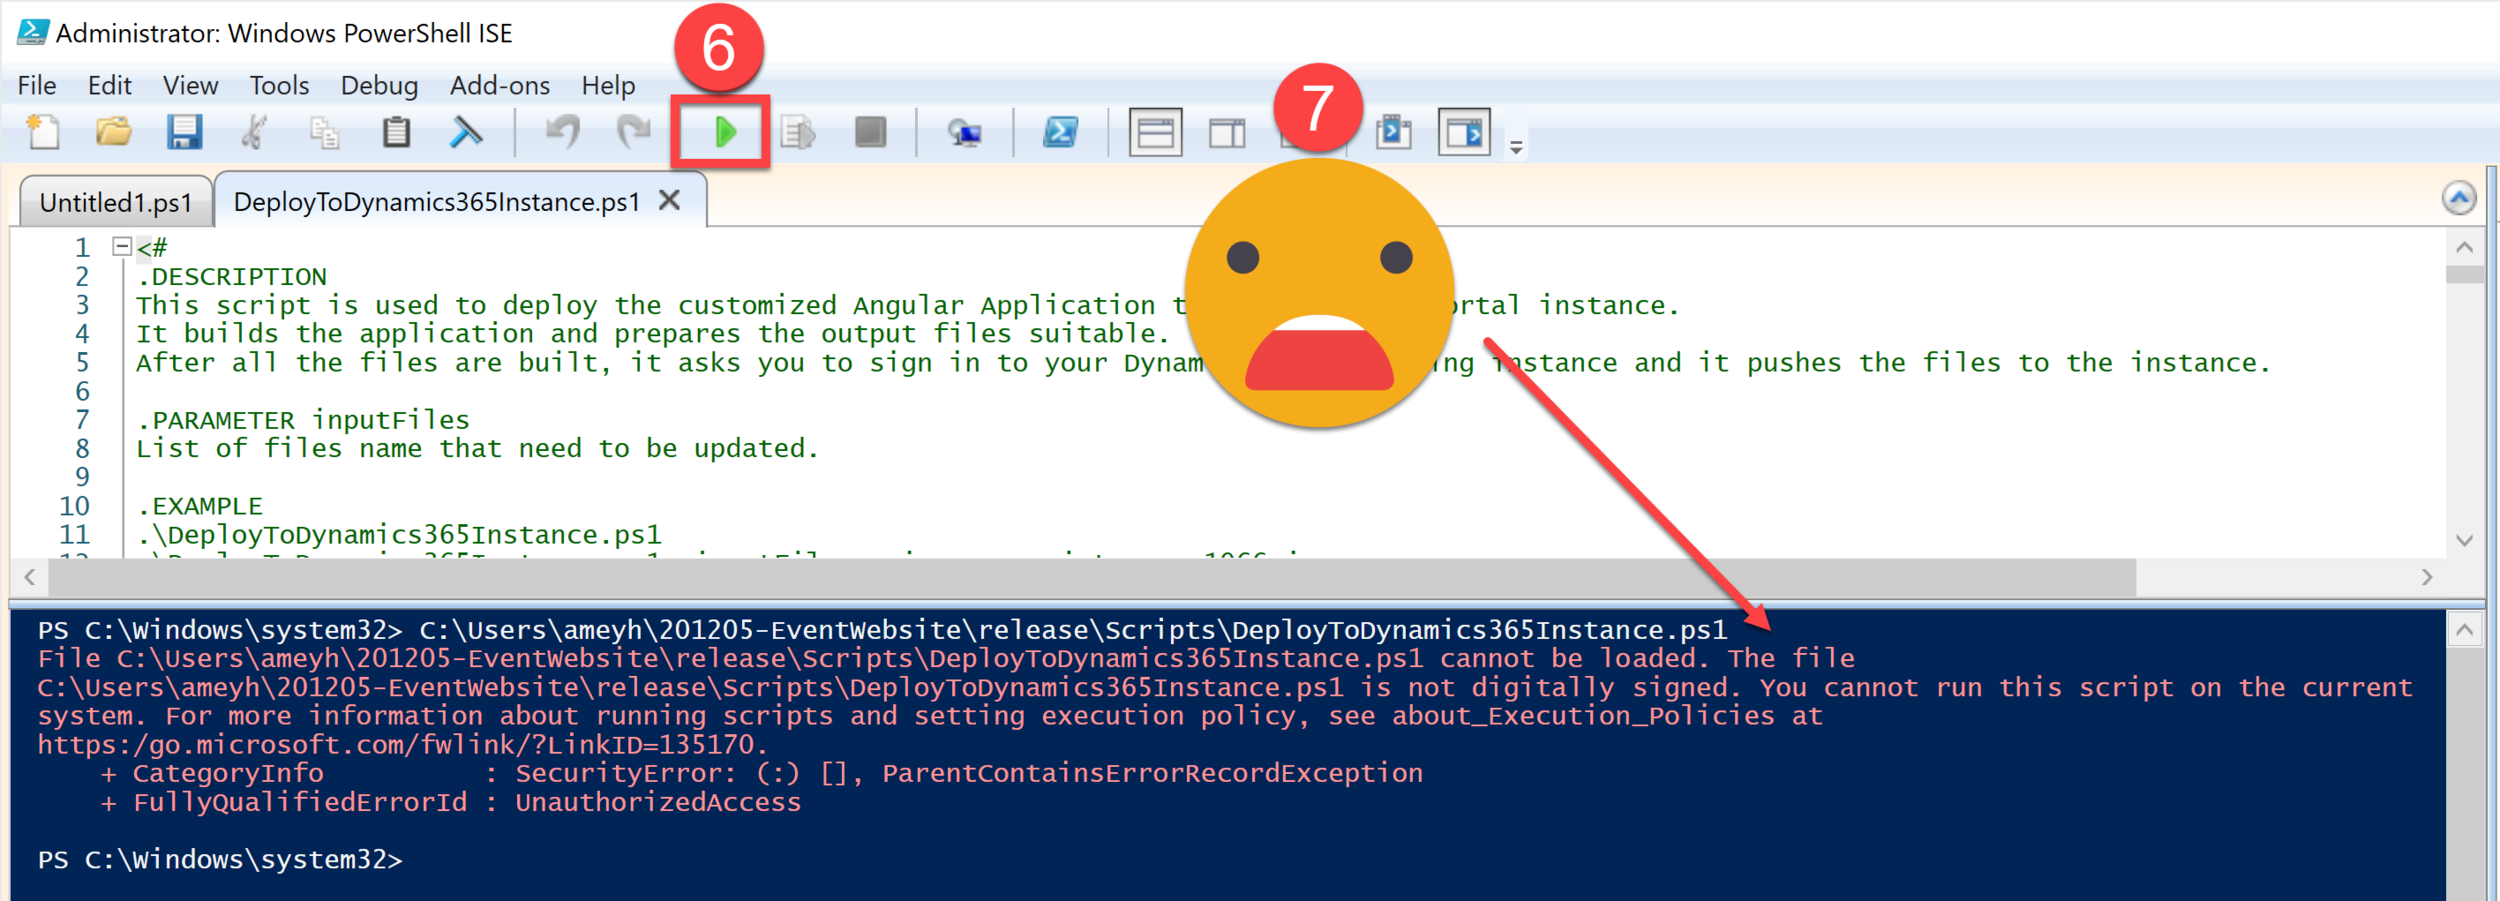
4. Launch Windows PowerShell ISE ensure you right click and ‘Open as Administrator’

5. Open the DeployToDynamics365Instance.ps1 file which is buried within the event management website file under \release\Scripts
6. Press the ‘Play’ button
7. If you are lucky you might get this juicy error, take a moment for mild panic
8. Stick this juicy bit of code in Set-ExecutionPolicy -Scope Process -ExecutionPolicy Bypass
9. Select ‘Yes’ (at your own peril of course but I haven’t dropped dead yet #YOLO)

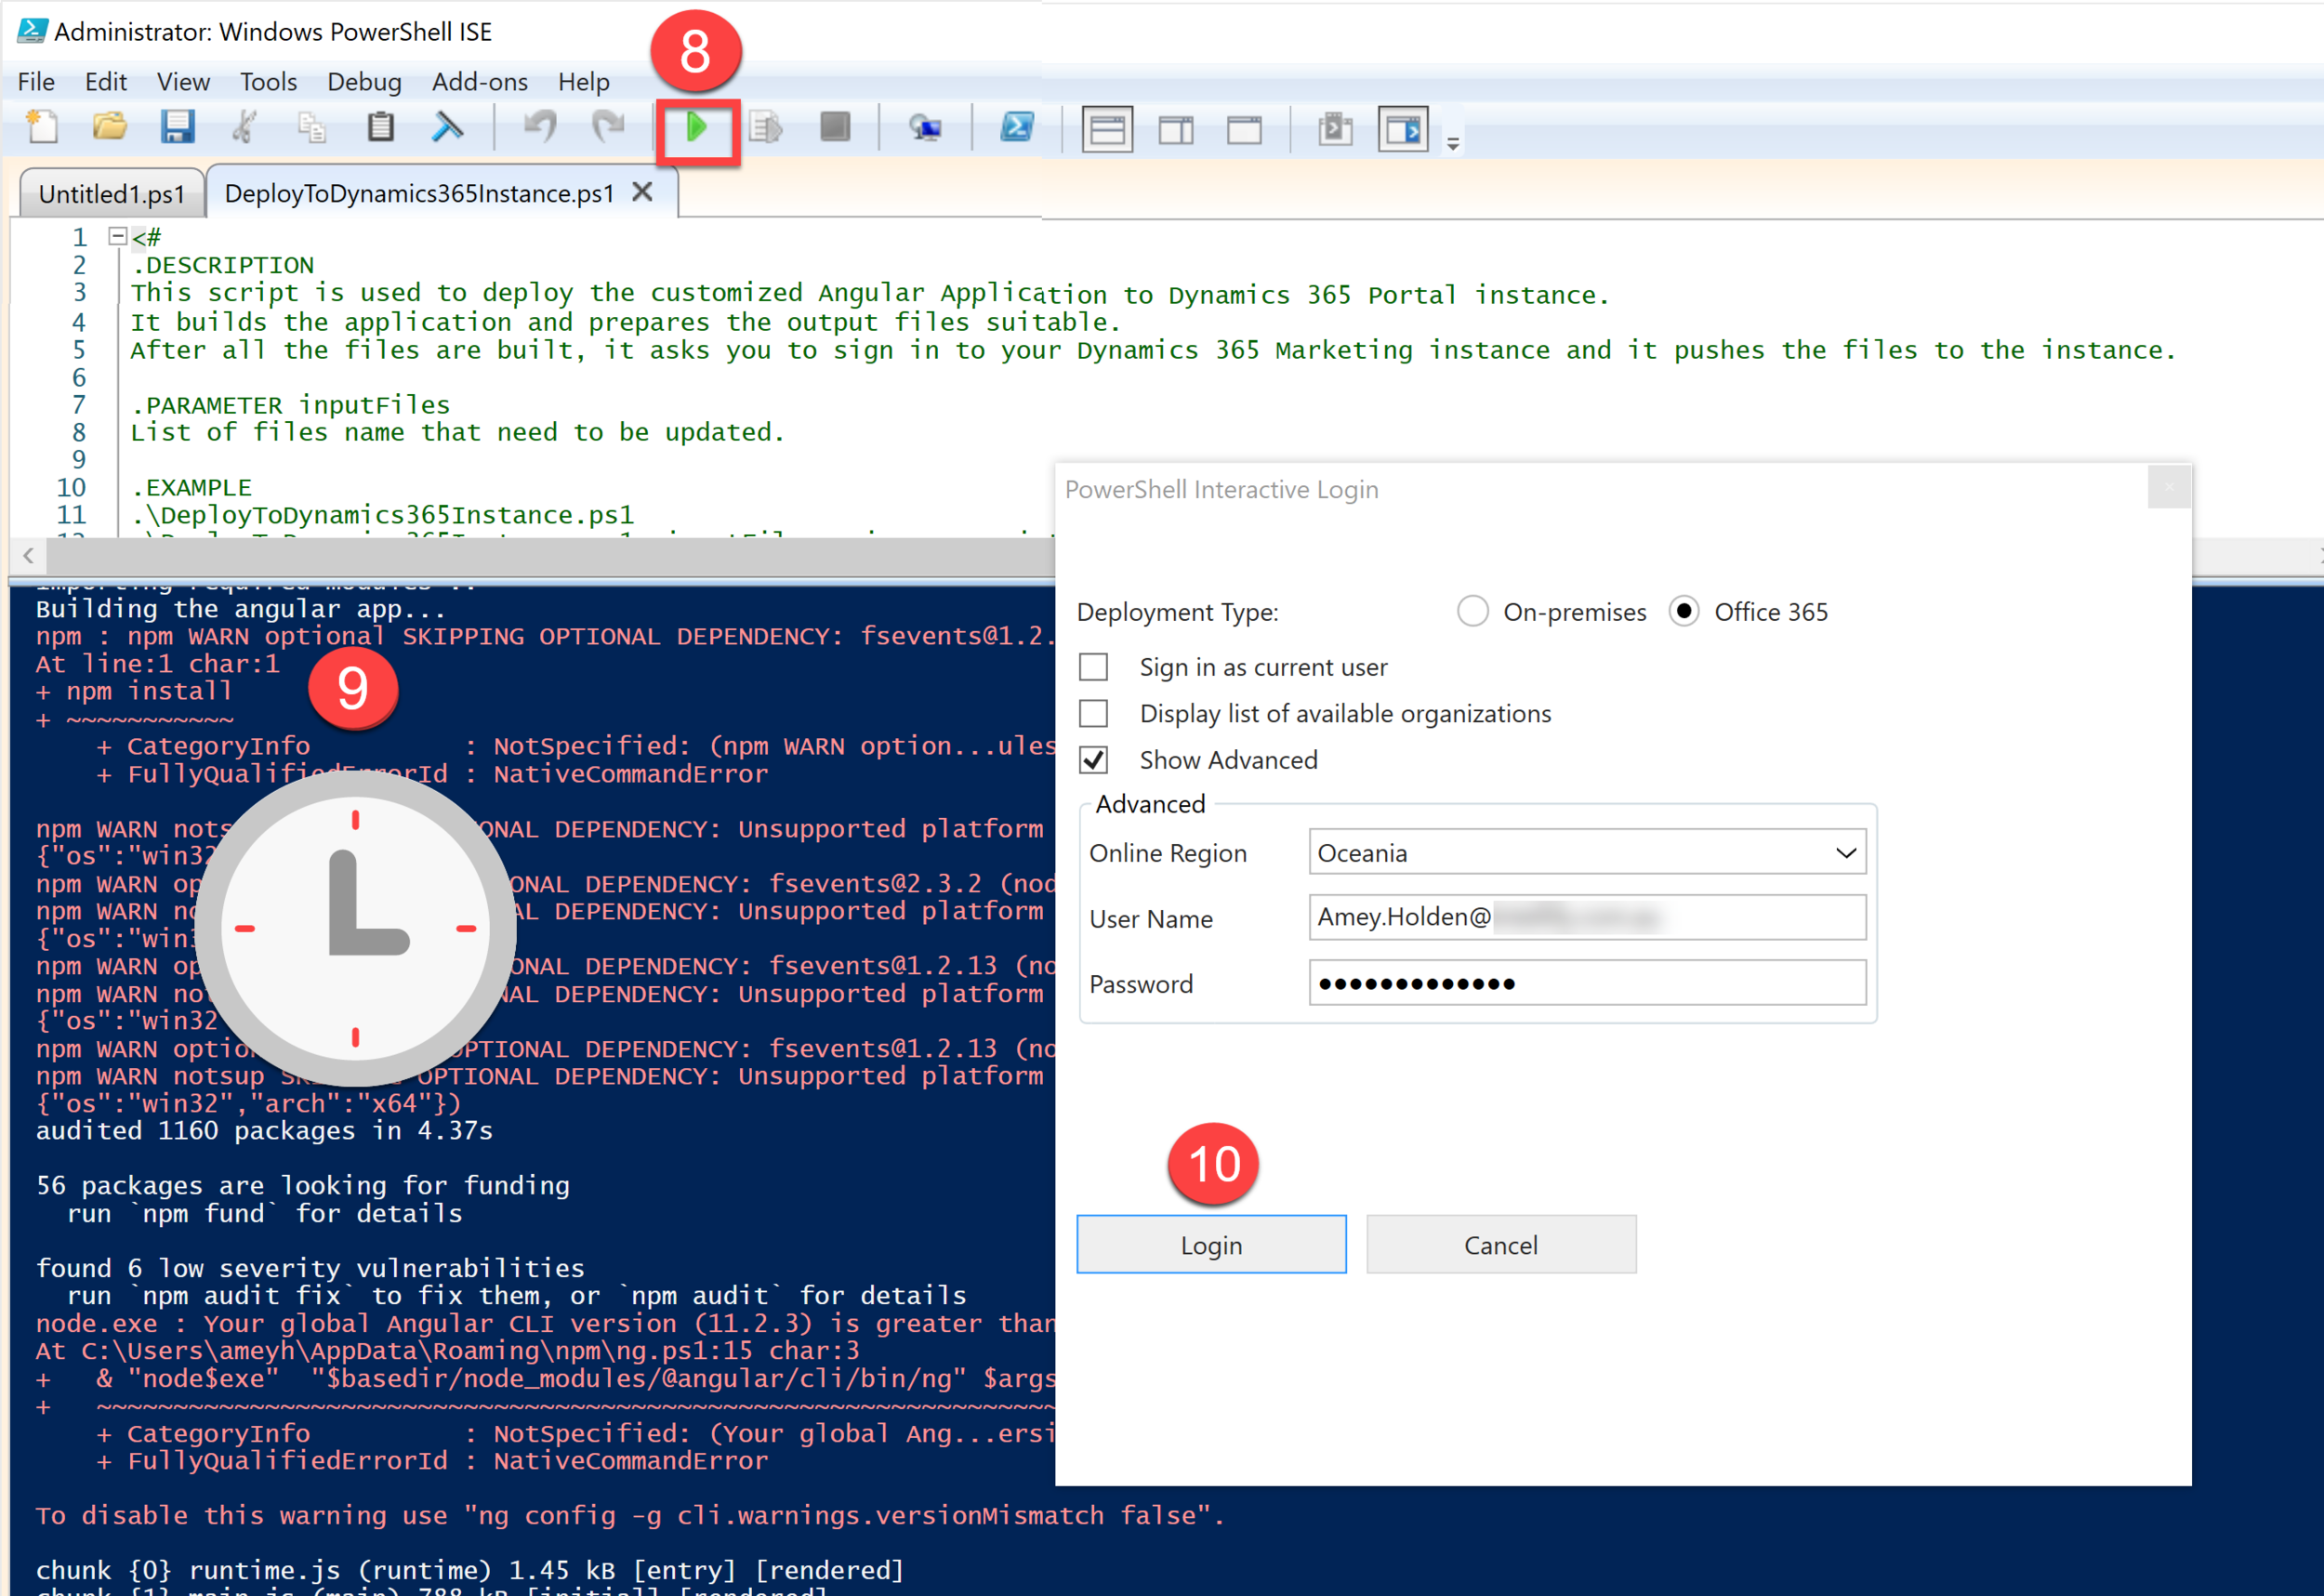
8. Press the ‘Play’ button again
9. Wait patiently and ignore all the warnings
10. Eventually you will be able to log in with your authentication details for the instance you are configuring

10. Wait a little bit longer while it spits out all sorts of words then finally it will finish like so - create your own celebrations as needed, because you are not getting anything from here
12. Go to your portal, do a Force Refresh aka Ctrl + F5 so that it clears the local cache and tadahhhhhh!

Well done if you made it this far - watch this space for more blogs on beautifying the Dynamics Marketing Event Portal soon. The date format is just the start! Want to do more changes? Have a browse of my other articles in this series and tell me about the magical things you have uncovered too!
If you are stuck on this journey too, and this doesn’t help just drop me a message or contact below - I cannot promise I’m a professional but I will give it my best!