Description formatting - Transform your Dynamics Marketing Event Portal
The final episode (for now) of making configurations to a Dynamics Marketing Event Portal in the name of making it look pretty, branded and a little more stylish. At the start of this ‘series’ I covered the slightly painful set up process for making changes to the event portal - so if you haven’t done that yet and have no idea what I am talking about there is a step by step guide for you here. This post will show you how to make the event description show as nicely formatted text rather than a lump of letters on the Event Portal.
Format the Description
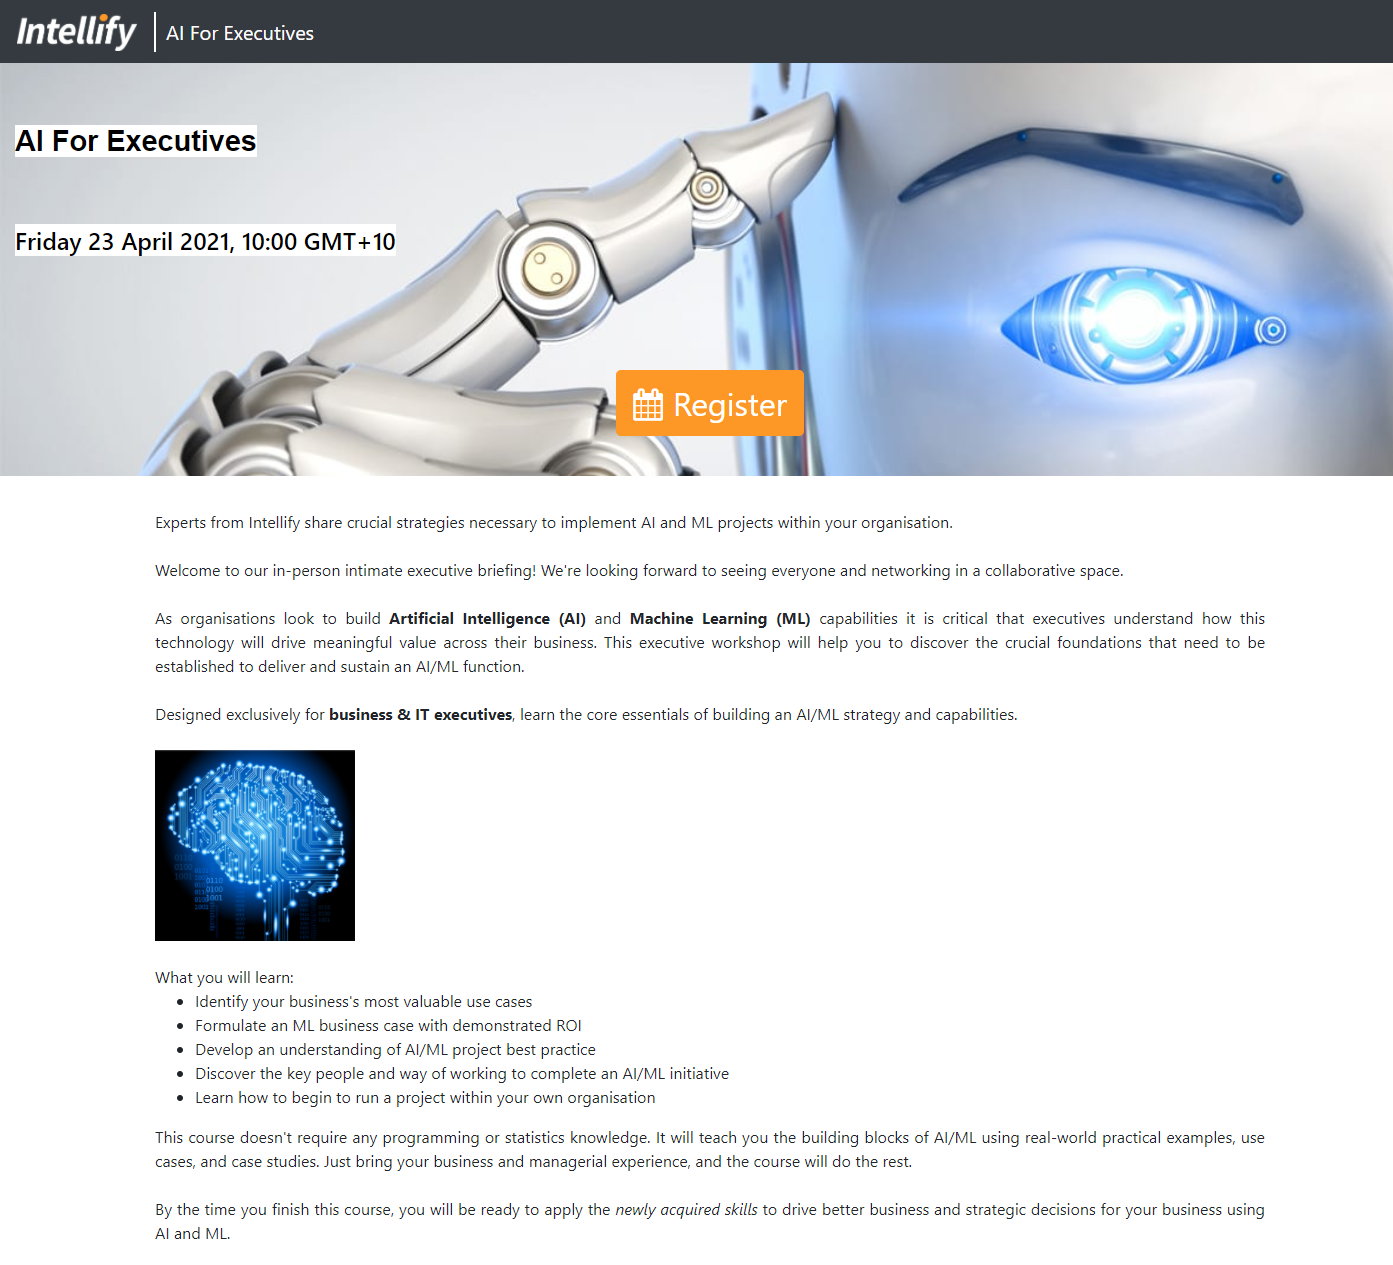
The Default
Great if you only have one to two lines of text but if you want more details - things get ugly really fast. All of sudden your event description is covered in word vomit!

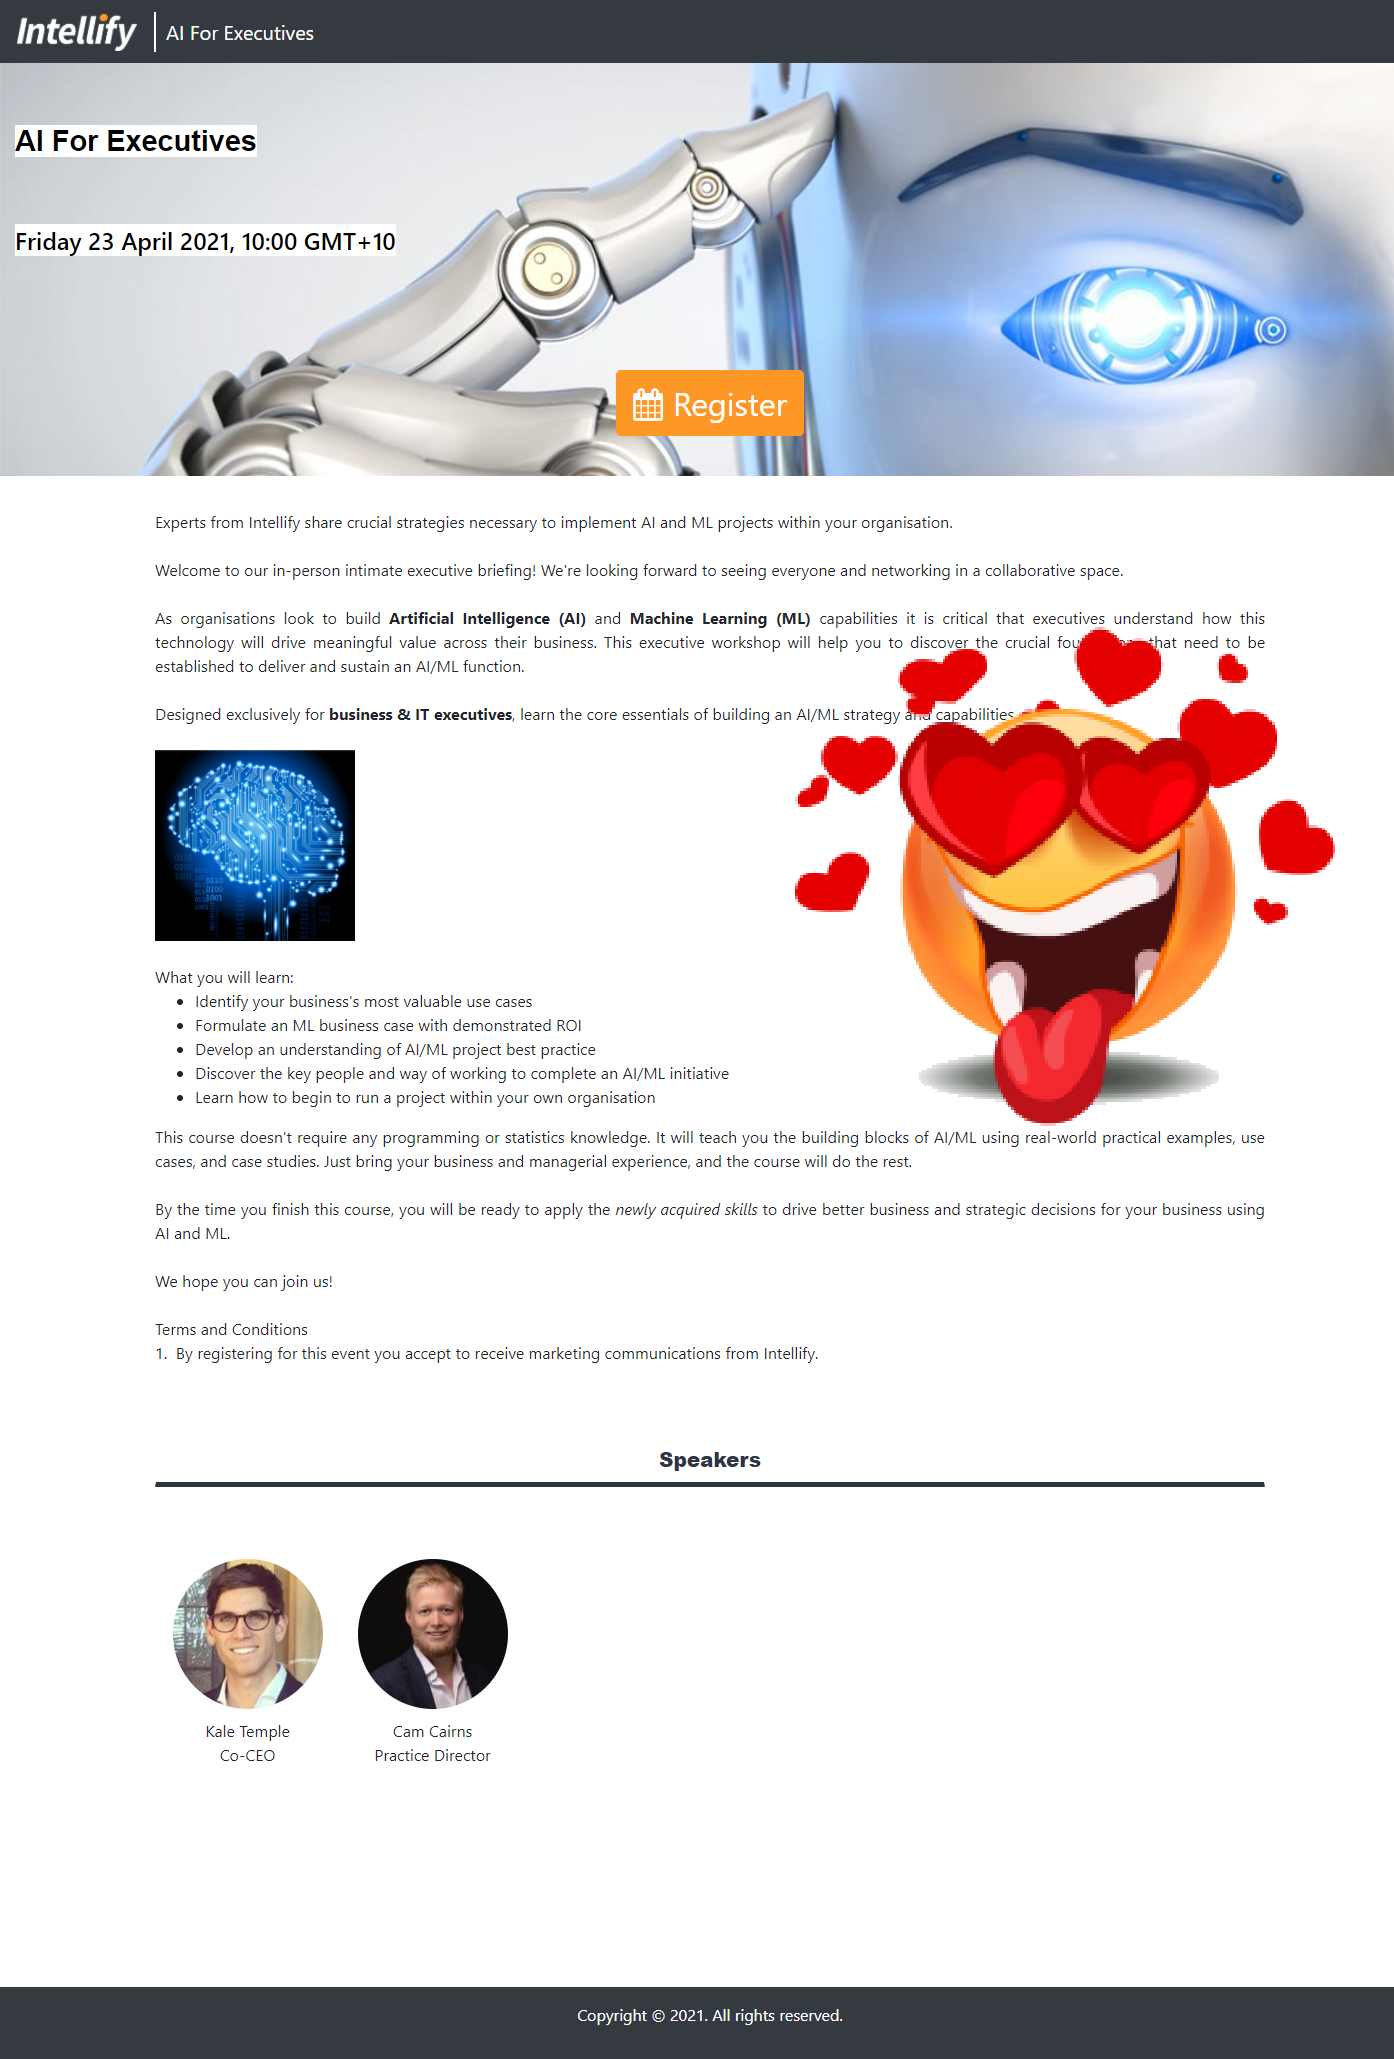
The Dream
My first request would be some simple line breaks - but if were going to do it properly lets get some text formatting and images in there too. Beautiful!
Making the dream come true
Assuming you completed the steps in my previous article you are ready to format your Event Description. The description format config is stored in the event.component.html file.
1. Open the source code folder in Visual Studio

2. Navigate to the event.component.html file
3. Comment out everything within the container event-description-container mt-4 div tag
        <!-- <div class="container event-description-container mt-4">
            {{ event.description }}
        </div> -->
4. Inside the ng-container tags where the commented out snippet is - add the below snippet of code. Now the portal will read the description field as HTML rather than plain text
<div class="container event-description-container mt-4" [innerHTML]="event.description"></div>

5. That’s it for the code - Publish your changes using the DeployToDynamics365Instance.ps1 file - check out my separate reference blog for details on how to do this if you missed it in my previous posts or need a recap -> https://www.ameyholden.com/articles/deploytodynamics365instance-ps1
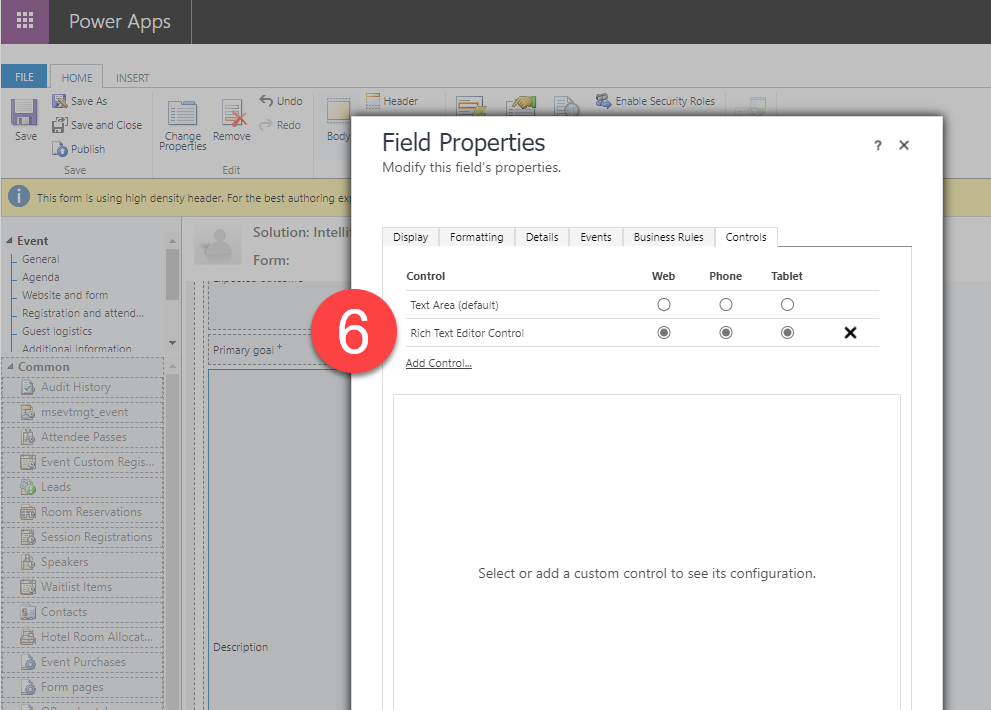
6. We are not done yet! Back in Dynamics - enable the Rich Text Editor control to the Event ‘Description’ field on the Event form (detailed how to guide can be found here.)
7. To avoid this issue with the field length being exceeded - update the field length to 4,000. This ensures it can hold the HTML formatted text rather than just plain text

8. Add some jazzy text formatting

Admire your work
Go to your portal, do a Force Refresh aka Ctrl + F5 so that it clears the local cache and tadahhhhhh!
Previous articles in the Transform your Dynamics Marketing Event Portal series
I have 9 other articles in this series all with step by step guides to help you transform your Dynamics Marketing Event Portal so be sure to check those out. I’m delighted with my portal progress for now but I would love to see what other things you have done to ‘pimp’ your Dynamics marketing Event Portal. If you are stuck on this journey too, and none of this helps just drop me a message or contact below - I’m happy to help!